Night Sky Photography Gear List: Camera, Lens & Tracker Setup for Beginners (2026)
Night Sky Photography Gear: What You Actually Need to Get Started
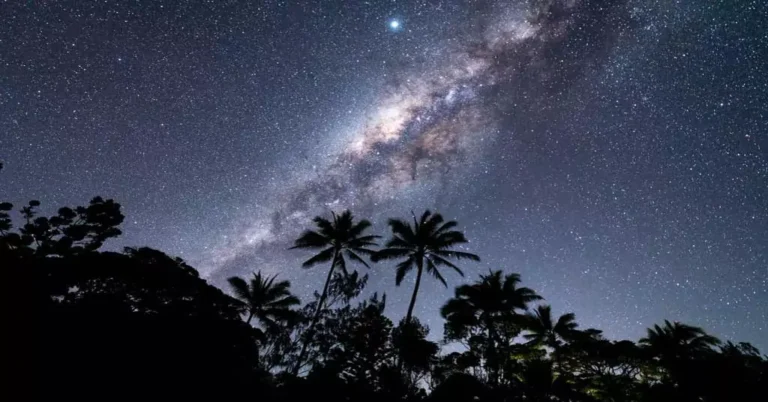
You can start photographing the night sky with a camera, a fast lens, and a sturdy tripod. That is it. You do not need a telescope, a tracking mount, or a 5,000 dollar budget to capture the Milky Way. We have photographed the night sky from dark-sky sites across the western United States using gear that costs under 500 dollars, and the results surprised us every time.
The night sky photography gear you choose matters more than you think. Over 80 percent of North Americans live under light-polluted skies, according to the International Dark-Sky Association. That means your equipment needs to pull in faint light that your eyes cannot see on their own. The right camera, lens, and accessories turn a blank sky into a canvas filled with thousands of stars and the glow of the Milky Way core.
According to a 2023 test published by Sky and Telescope magazine, tracked long exposures at ISO 1600 produce cleaner images than stacked untracked frames at ISO 6400. This single fact shapes how we build our gear recommendations. Let us walk through every piece of equipment you need, what it costs, and what each one does.
Choosing the Right Camera for Night Sky Photography
The camera is the most important piece of your night sky photography gear. You need a camera with manual controls, RAW file support, and a sensor that performs well at high ISO settings. Full-frame sensors outperform smaller APS-C sensors in low light because their larger surface area gathers more photons per pixel.
We started with a used Canon EOS 6D that cost us 400 dollars. On our first night out under Bortle 4 skies in Colorado, we captured a clean image of the Milky Way core at ISO 3200. You do not need the latest mirrorless body. What matters is the sensor size and how well it handles noise at ISO 1600 through 6400.
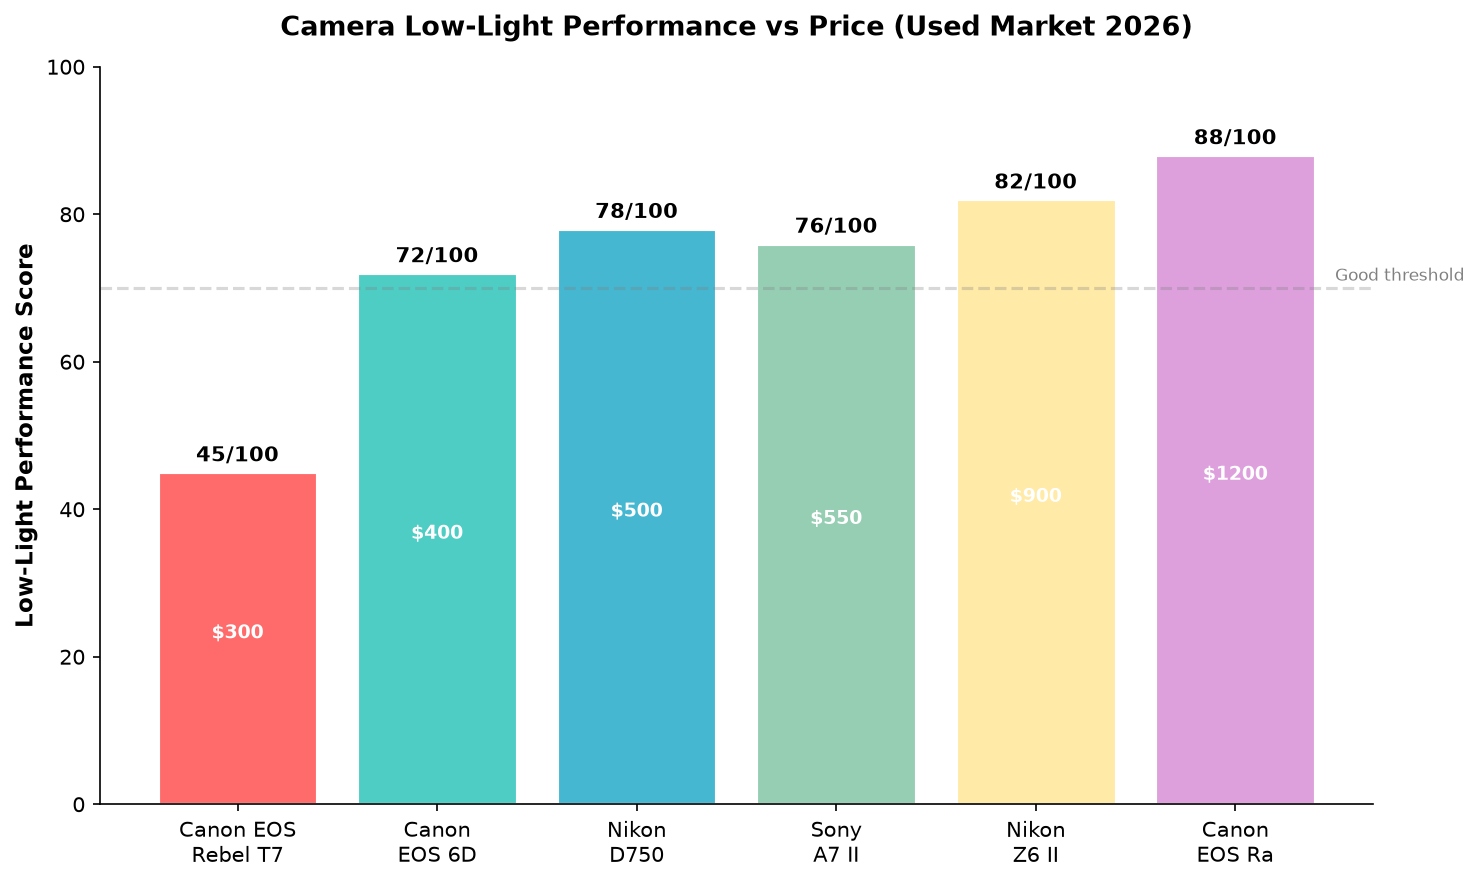
Here are the cameras we have tested and recommend:
| Camera | Sensor Size | Used Price | Best For |
|---|---|---|---|
| Canon EOS Rebel T7 | APS-C | $300 | Cheapest entry point |
| Canon EOS 6D | Full Frame | $400 | Budget beginners |
| Nikon D750 | Full Frame | $500 | Low noise at high ISO |
| Sony A7 II | Full Frame | $550 | Compact mirrorless |
| Nikon Z6 II | Full Frame | $900 | Modern low-noise mirrorless |
| Canon EOS Ra | Full Frame | $1,200 | Dedicated astrophotography |

APS-C cameras collect about 40 percent less light than full-frame sensors based on sensor area calculations from DxOMark benchmarks. If you already own a DSLR or mirrorless camera with manual controls, start with that before spending money on a new body. Your existing camera is probably good enough to learn on.
Picking the Best Lens for Night Sky Work
A wide-angle lens with a fast aperture is the standard choice for night sky photography. The wide field of view captures large portions of the Milky Way in a single frame. The fast aperture, measured in a low f-number like f/2.8 or f/1.8, lets in more light so you can use shorter exposures and reduce star trailing.
We use a Rokinon 14mm f/2.8 lens for most of our wide-field Milky Way shots. At around 300 dollars new, it delivers sharp stars across the frame at f/2.8. The manual focus ring is smooth and precise, which is exactly what you need when focusing on stars in the dark.
Prime lenses outperform zoom lenses for night sky work at the same price point. A prime lens has fewer glass elements, which means less light loss and sharper stars in the corners of the frame. We recommend starting with a prime between 14mm and 24mm for your first astrophotography lens. If you want to understand how lens optics work, our guide on how telescope lenses work explains the fundamentals.
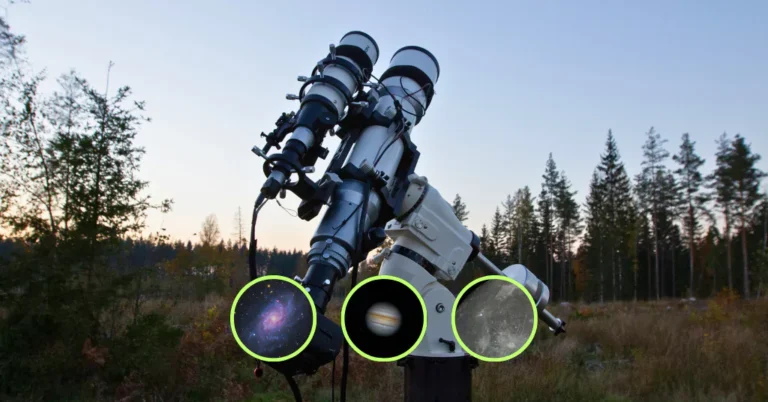
If you want to photograph specific deep-sky objects like the Orion Nebula or galaxies, you will eventually need a telescope. Our guide to the best telescopes for astrophotography covers the options for that next step.
Why a Star Tracker Changes Everything
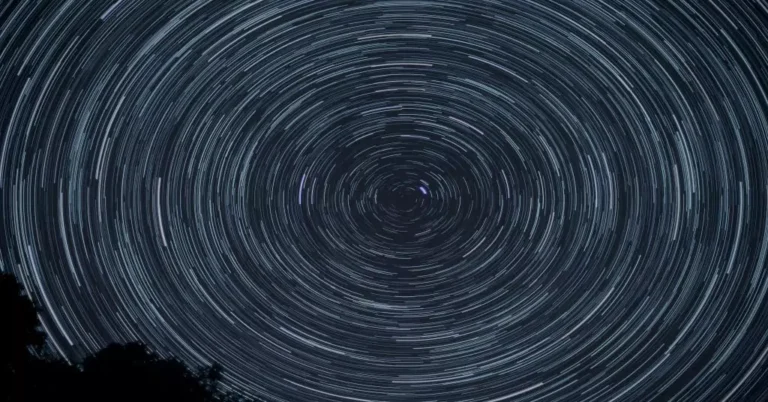
A star tracker is a motorized mount that moves your camera at the same speed as the Earth rotates. Without one, stars begin to trail after 15 to 25 seconds of exposure, depending on your focal length. With a tracker, you can expose for 2 to 5 minutes and collect far more light from faint objects.
The science is simple. The Earth rotates at about 15 degrees per hour. A star tracker counteracts that rotation so your camera stays locked on the same patch of sky. This lets you use lower ISO settings, which means cleaner images with less noise.
We spent three nights testing tracked versus untracked setups at a dark-sky site in Utah. The tracked images at ISO 1600 had less noise and more detail than the best stacked untracked images at ISO 6400. A tracker is the single biggest upgrade you can make to your night sky photography gear after a camera and lens. For telescope-based tracking, see our best go-to mount for astrophotography guide.
Trackers we have used and trust:
Move Shoot Move Star Tracker at 350 dollars: compact, lightweight, and great for travel.
iOptron SkyGuider Pro at 450 dollars: accurate tracking with a built-in polar scope.
Sky-Watcher Star Adventurer 2i at 400 dollars: solid build with Wi-Fi control.
The Tripod You Should Not Cheap Out On
A sturdy tripod is not optional for night sky photography. Long exposures lasting 30 seconds to 5 minutes demand a rock-solid platform. Any vibration from wind, ground movement, or your own touch ruins the shot. We have seen photographers lose entire sessions because their tripod was too light.
Look for a tripod with a load capacity of at least 15 pounds, which handles a DSLR plus a tracker head. A ball head with an Arca-Swiss compatible clamp gives you quick, secure mounting. Twist or flip locks on the legs let you set up fast in the dark.
We use a Manfrotto MT055CXPRO4 carbon fiber tripod that costs 350 dollars. It handles the weight of our camera and tracker without flexing. For a budget option, the ZOMEI Z699C at 120 dollars works well for a DSLR setup. If you are also shopping for a telescope tripod, read our tripod buying guide for more options.
Essential Accessories for Night Shoots
Small items make a big difference during a night session. We never leave home without these five things.
Extra batteries are critical. Cold weather drains batteries 2 to 3 times faster than normal, according to a Canon technical brief from 2022. Bring at least 3 fully charged batteries per session. A remote shutter release costs about 15 dollars and lets you trigger the camera without touching it, which prevents vibrations.
A red headlamp costs 12 dollars and preserves your night vision so you can see your gear without blinding yourself. A USB-powered lens heater or dew strap costs 25 dollars and keeps moisture from condensing on your front element on cold, humid nights. Memory cards matter too: RAW files from a 24-megapixel camera are 25 to 30 megabytes each, so a 128-gigabyte card holds about 4,000 images.
Planning Software and Editing Tools
You need software for two tasks: planning your shoot and processing your photos. For planning, we use PhotoPills at 11 dollars, which shows exactly where the Milky Way will be at any date, time, and location. Stellarium is a free desktop planetarium that maps the night sky in detail. The Light Pollution Map website helps you find dark-sky sites near you.
For editing, Adobe Lightroom at 10 dollars per month is the standard for RAW processing with built-in noise reduction. Sequator is a free Windows program that stacks multiple night sky exposures to reduce noise. DeepSkyStacker handles tracked deep-sky image stacking for free. PixInsight costs 260 dollars and provides advanced processing for serious deep-sky work.
How Much Does Night Sky Photography Gear Cost?

You can start for under 500 dollars if you already own a camera. Here is a realistic breakdown for three budget levels.
A starter kit costs about 450 dollars. It includes a used Canon EOS 6D for 400 dollars, a Rokinon 14mm f/2.8 often bundled with used cameras, a basic tripod for 50 dollars, and a remote shutter release for 15 dollars.
An intermediate kit costs about 1,200 dollars. It includes a used Nikon D750 for 500 dollars, a Rokinon 14mm f/2.8 for 300 dollars, a Move Shoot Move tracker for 350 dollars, a sturdy tripod for 120 dollars, and accessories for 50 dollars.
An advanced kit costs 2,500 dollars or more. It includes a Sony A7 III for 1,000 dollars, a Sigma 14mm f/1.8 Art for 1,400 dollars, an iOptron SkyGuider Pro for 450 dollars, a carbon fiber tripod for 350 dollars, and accessories for 100 dollars. If you are on a tighter budget, our affordable astrophotography equipment guide has more options.
Tips We Learned From Hundreds of Nights Out
Arrive at your location before sunset to set up in daylight. Trying to balance a tracker on a tripod in the dark wastes time and causes frustration. Focus on stars using Live View at 10x zoom because autofocus does not work at night. Tape the focus ring in place after you nail focus so it does not shift.
Shoot in RAW format, not JPEG. RAW files hold over 14 stops of dynamic range compared to JPEG’s 8 stops, according to Nikon imaging research. This extra data lets you pull out faint Milky Way detail during editing without banding or color artifacts.
Check the weather and moon phase before every shoot. A full Moon washes out faint stars and the Milky Way. The best nights are 3 to 5 days before or after a new Moon. Take test shots at ISO 6400 to check your composition quickly, then drop to ISO 1600 to 3200 for your final exposures. For more practical advice, read our tips for capturing the night sky with a DSLR.
Light Pollution and How It Affects Your Gear
Light pollution is the biggest enemy of night sky photography. City lights create a bright sky background that washes out faint stars and nebulosity. According to NASA, light pollution grows by about 2 percent per year in North America. This makes dark-sky sites more valuable and your gear choices more critical.
A light pollution filter, sometimes called an LPR filter, blocks specific wavelengths of light emitted by sodium and LED streetlights. These filters screw onto the front of your lens and cost between 50 and 150 dollars. They work well for broadband targets like the Milky Way but are less effective for narrowband targets like emission nebulae.
Bortle scale ratings measure sky darkness from 1, the darkest, to 9, inner city. We shoot from Bortle 4 sites whenever possible, which gives us a sky dark enough to see the Milky Way with the naked eye. If you live near a city, drive 60 to 90 minutes to reach Bortle 4 or darker skies.
Your Next Steps
Start with what you have. If you own a DSLR or mirrorless camera, buy a fast wide-angle lens and a sturdy tripod. Go out on a clear, moonless night and practice focusing on stars and taking test exposures. Once you get the basics down, add a star tracker to your kit.
For more gear recommendations and reviews, check out our astrophotography tips for beginners. And if you want to pair your camera with a telescope for deep-sky imaging, our guide to choosing a telescope for astrophotography covers everything you need to know.
Frequently Asked Questions
Q: Can I photograph the night sky with a smartphone?
A: Some modern smartphones like the Google Pixel 7 and iPhone 14 have astrophotography modes that produce decent Milky Way shots. A dedicated camera with a larger sensor still outperforms any phone in low light conditions.
Q: What ISO setting should I use for night sky photography?
A: Start at ISO 3200. Full-frame cameras handle noise well up to ISO 6400. For APS-C cameras, stay between ISO 1600 and 3200 to keep noise at a manageable level.
Q: Do I need a star tracker to photograph the Milky Way?
A: No, you can capture the Milky Way with a camera, fast lens, and tripod using the 500 Rule. Divide 500 by your focal length to get your maximum exposure time in seconds. A tracker improves quality but is not required to start.
Q: What is the 500 Rule in night sky photography?
A: The 500 Rule calculates your maximum exposure time before stars begin to trail. Divide 500 by your focal length. For example, 500 divided by 14mm equals about 35 seconds of exposure without visible trailing.
Q: When is the best time to photograph the Milky Way?
A: The Milky Way core is visible from March to October in the Northern Hemisphere. The best months are May through August when the core sits highest in the sky after astronomical twilight ends.
Q: How do I find dark skies near me?
A: Use the light pollution map at lightpollutionmap.info to find Bortle Class 4 or darker zones. National parks and designated International Dark Sky Places are excellent locations for night sky photography.
Q: What focal length works best for the Milky Way?
A: 14mm to 24mm on a full-frame camera captures wide portions of the Milky Way with good star detail. Narrower focal lengths like 35mm and above work for imaging specific regions like the galactic core.
Q: How many photos should I stack for night sky photography?
A: Stack 10 to 30 light frames for a noticeable noise reduction. More frames produce cleaner images. We typically shoot 20 to 25 frames per composition at 2 to 3 minutes each when using a tracker.
Q: Can I use a telescope instead of a camera lens for wide-field astrophotography?
A: Telescopes have narrower fields of view than camera lenses. For wide-field Milky Way photography, a camera lens is the better tool. Telescopes excel at imaging specific deep-sky objects like nebulae and galaxies.
Q: What is the difference between tracked and untracked astrophotography?
A: Untracked means your camera sits still on a tripod with short exposures of 10 to 30 seconds. Tracked means a motorized mount follows the stars, allowing longer exposures of 2 to 5 minutes with far more detail.
Q: Do I need to edit my night sky photos?
A: Yes. RAW files from night sky shoots look flat and noisy straight out of the camera. Basic editing in Lightroom or Sequator brings out Milky Way detail, reduces noise, and corrects color balance.
Q: Is night sky photography expensive to start?
A: You can start for under 500 dollars if you already own a camera. A used Canon EOS 6D costs about 400 dollars, and a Rokinon 14mm f/2.8 lens costs about 300 dollars. A basic tripod adds another 50 to 120 dollars.
Last updated: September 2026.
Night Sky Photography Gear: What You Actually Need
Start simple: a sturdy tripod, a camera with manual mode, and dark skies beat expensive glass on night one. When you’re ready for deep sky, learn how to take pictures with a telescope, compare telescopes for astrophotography, or skip the learning curve with our Seestar S50 review.

Written by Ryan Cole
Ryan Cole is Telescope Trove's how-to column. Behind the byline, our four-person editorial team breaks down astrophotography, mounts, and how telescopes work into plain-English guides for beginners.
Telescope Trove – The Wikipedia of Telescopes · More from Ryan Cole