Can Telescope Take Pictures – Everything You Need to Know
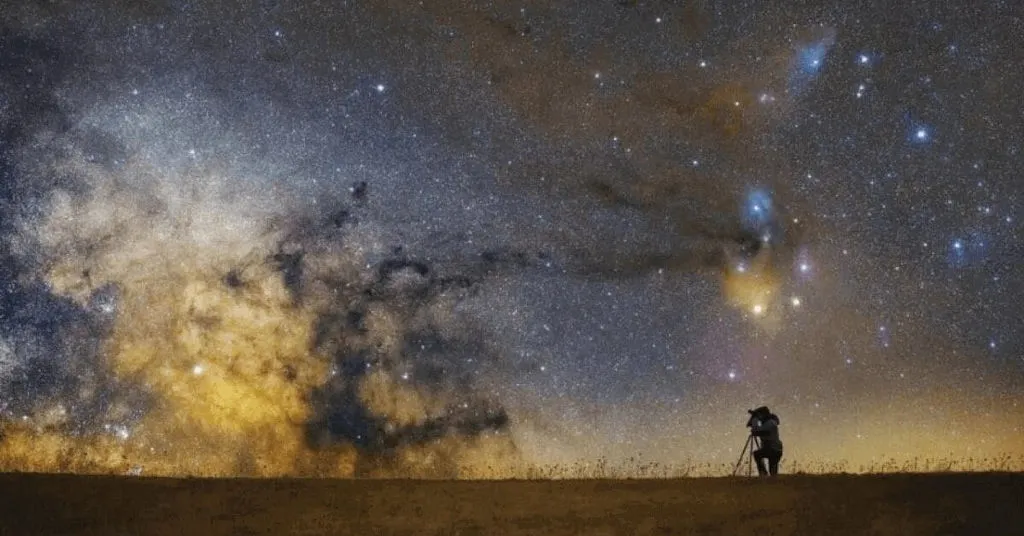
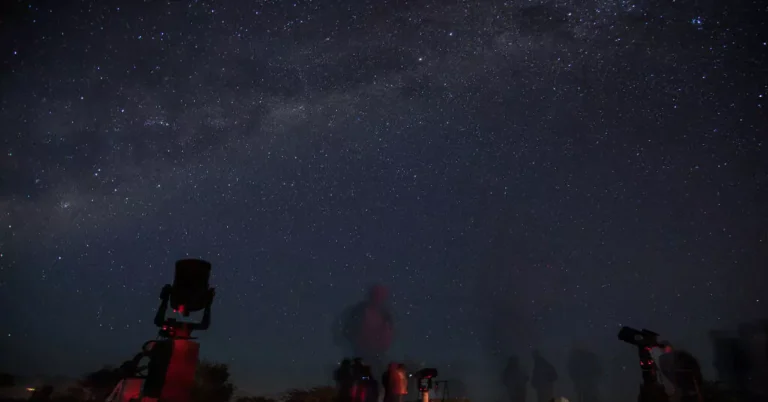
The night sky pulls at something deep in people. Stars, planets, nebulae they sit up there every clear evening, and most of us just stare. But what if you could actually photograph what you see through your telescope? That question can telescope take pictures comes up constantly among new stargazers. The short answer is yes. The longer answer is much more interesting.
How Telescopes Work and Why Photography Is Possible
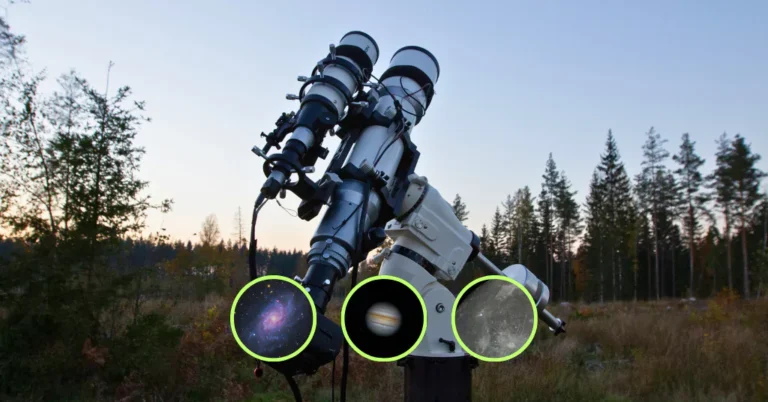
A telescope does one thing really well. It gathers light and focuses it to a point. Your eye sits at the eyepiece and picks up that focused light. A camera sensor can do the exact same job. Swap out the eyepiece for a camera body and you have the foundation of astrophotography.
Refracting telescopes use lenses to bend and focus light. Reflecting telescopes use mirrors. Both types can work for photography. The key difference is how you attach a camera and how well the optics perform under long exposures.
Most telescopes sold today come ready for camera attachments. Manufacturers know that stargazers want to photograph what they see. This makes getting started with astrophotography much more accessible than it was twenty years ago.
What Equipment Do You Actually Need
The Camera Options That Work Best
Any DSLR camera can attach to a telescope using a T-ring adapter. The T-ring connects the camera body to the telescope’s focuser. Mirrorless cameras work the same way with the right adapter. You remove the camera lens entirely and let the telescope do that work instead.
Dedicated astronomy cameras are another option. These cool the sensor to reduce noise in long exposures. They cost more than a basic DSLR, but they produce cleaner images in dark sky conditions. For beginners, a used DSLR works perfectly well.
Smartphones can also attach to telescopes through simple clip-on adapters. This method works reasonably well for the moon and bright planets. Deep sky objects like galaxies and nebulae need more sensitivity than a phone sensor provides.
Telescope Mounts and Why They Matter So Much
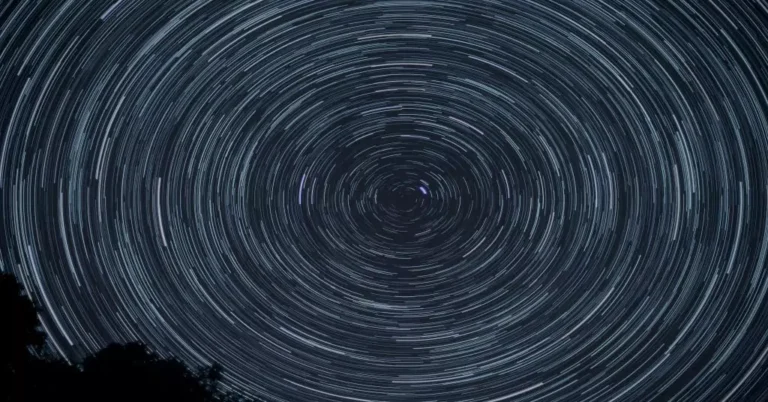
Earth rotates. That rotation blurs long-exposure photographs unless your telescope mount compensates for it. A basic alt-azimuth mount moves up-down and left-right. It works for visual observing but not for serious photography.
An equatorial mount tilts on an axis that matches Earth’s rotation angle. It tracks the sky by rotating on one axis only. This keeps stars in the same spot on your sensor during a long exposure. According to Sky & Telescope magazine, most successful deep sky images require at least 2 to 5 minutes of exposure time per frame – that is impossible without a tracking mount.
A motorized equatorial mount with a good polar alignment is the single most important upgrade for anyone serious about astrophotography. Without it, stars trail across the frame and the image becomes unusable.
Types of Objects You Can Photograph
The Moon: The Best Starting Point
The moon is the easiest target for anyone asking whether can telescope take pictures of something real and impressive. It is bright, it is large, and it requires short exposures. Even a smartphone through a basic telescope produces recognizable images of craters and mountain ranges.
Shoot the moon when it is in its crescent or quarter phase. Long shadows at the terminator line – the line between light and dark – bring out surface detail. A full moon is actually harder to photograph well because there are no shadows to show depth.
Planets: Bright but Small
Jupiter, Saturn, Mars, and Venus are bright enough to photograph without long exposures. The challenge is their small apparent size in the eyepiece. You need a telescope with decent focal length and good optics to get a planet large enough to show detail.
Saturn’s rings are visible through almost any telescope with a camera. Jupiter’s cloud bands and its four large moons show up reliably. Mars reveals surface markings and polar ice caps when it is close to Earth during opposition. These targets are satisfying early wins for new astrophotographers.
Deep Sky Objects: Galaxies, Nebulae, and Clusters
This is where astrophotography gets technical. Deep sky objects are faint. They need long exposures, dark skies, and a tracking mount. But the results are some of the most jaw-dropping images in all of photography.
The Andromeda Galaxy sits about 2.5 million light-years away. Under dark skies with a moderate telescope, a camera can record its spiral arms in a single evening of shooting. The Orion Nebula glows with gas and dust and photographs beautifully even from suburban locations. Star clusters need less exposure time and reward beginners with images full of color and depth.
Comparison of Telescope Types for Photography
| Telescope Type | Best For | Camera Compatibility | Price Range |
|---|---|---|---|
| Refractor (short focal length) | Wide-field nebulae, star fields | Excellent | $300 – $1,500 |
| Refractor (long focal length) | Planets, moon | Very Good | $400 – $2,000 |
| Newtonian Reflector | Deep sky objects | Good with coma corrector | $200 – $1,200 |
| Schmidt-Cassegrain | Planets and deep sky both | Excellent | $800 – $3,000 |
| Ritchey-Chrétien | Deep sky, professional quality | Excellent | $1,500 – $6,000 |
The Process of Taking an Astrophotograph
Setting Up Your Equipment
Start by polar aligning your mount. Point the mount’s polar axis toward Polaris, the North Star, if you are in the northern hemisphere. Southern hemisphere observers use Sigma Octantis. Most modern mounts have polar alignment scopes built in. Spend time getting this right – poor polar alignment causes star trails in long exposures.
Focus the telescope carefully before attaching the camera. Use a bright star or the moon. Focus aids like a Bahtinov mask clip onto the telescope front and create a diffraction pattern that makes perfect focus obvious. Take your time here because even slight focus errors kill image quality.
Set your camera to shoot in RAW format. JPEG compresses data that you need in post-processing. ISO settings between 800 and 3200 work for most deep sky targets. Start with 60-second exposures and adjust from there based on your sky brightness.
Long Exposure Techniques
A single long exposure picks up faint details the eye never sees. Electrons build up on the camera sensor as photons arrive. The longer the shutter stays open, the more light you collect. This is how astrophotographers reveal colors and structures invisible to the naked eye.
Use a remote shutter release or your camera’s built-in timer. Touching the camera body during an exposure introduces vibration. Even a light touch can blur an image significantly. Remote releases cost almost nothing and make a real difference.
Beyond the Basics: Astrophotography Gear and Techniques
Should the abyss call to your camera’s sensor with an ardor beyond the standard fare, Tools of Titans are waiting to be utilized.
Image Stacking: Why One Frame Is Never Enough
Professional astrophotographers rarely rely on a single exposure. They take dozens or even hundreds of frames of the same target and combine them. This process is called image stacking. Software like DeepSkyStacker, Sequator, or PixInsight aligns and combines your frames automatically.
Stacking does two things. It reduces random noise that appears in individual frames. It also adds up signal – the actual light from your target – so faint details become visible. According to NASA’s Jet Propulsion Laboratory, many of the iconic images from amateur astronomers use between 50 and 200 stacked frames to achieve their final result.
Image stacking turns ordinary single exposures into the kind of photographs you see in astronomy magazines
Post-Processing Your Astrophotos
Raw astrophotographs look underwhelming straight out of the camera. They appear dim, slightly noisy, and lacking contrast. Post-processing brings out what the data actually contains. This is normal and expected.
Free software like GIMP handles basic stretching and color adjustment. Paid tools like Adobe Lightroom and Photoshop offer more control. Dedicated astrophotography software gives you the most power over your final result. The process involves stretching the histogram to pull faint details into the visible range, reducing noise, and adjusting color balance.
Processing takes practice. Your first results may disappoint you. Keep shooting, keep stacking, and keep processing. The improvement curve in astrophotography is steep and rewarding.
Common Mistakes New Astrophotographers Make
Rushing polar alignment causes more ruined sessions than any other single mistake. New astrophotographers often skip this step or do it carelessly. The mount tracks poorly and every frame shows star trails. Take 15 to 20 minutes on polar alignment every session.
Shooting in areas with heavy light pollution limits what you can capture. City lights wash out faint nebulae and galaxies. Travel to darker skies when you can. The Bortle scale rates sky darkness from 1 (pristine dark) to 9 (inner city). Aim for Bortle 4 or darker for serious deep sky work.
Focusing incorrectly ruins otherwise perfect data. Many beginners rush focusing or skip it entirely. A poorly focused image cannot be fixed in processing. Get it right before you start shooting.
Can Telescope Take Pictures of Everything in Space
Telescopes have real limitations. The faintest objects require very long total exposure times, sometimes spanning multiple nights. Objects low on the horizon suffer from atmospheric distortion. Some wavelengths of light – like X-rays and radio waves – need specialized equipment that works nothing like an optical telescope.
Can telescope take pictures of exoplanets directly? In most cases, no. Exoplanets are too close to their host stars and too faint for backyard telescopes to image directly. Professional observatories and space telescopes handle that work.
For most objects that casual and serious amateur astronomers want to photograph, a good telescope and camera setup does an excellent job. The moon, planets, star clusters, nebulae, and galaxies all sit within reach of equipment available to anyone willing to invest time and moderate money.
Getting Started Without Spending a Fortune
A used DSLR body costs between $150 and $400. A T-ring adapter runs about $20. An entry-level refractor telescope suitable for photography starts around $300. A basic motorized equatorial mount adds another $200 to $400. Your total startup cost can stay under $1,000 if you shop carefully.
Join local astronomy clubs. Members often share equipment, give advice, and organize dark sky trips. Clubs exist in every major city across the US, UK, Canada, Australia, and beyond. The community is welcoming to beginners and generous with knowledge.
Online forums like Cloudy Nights and Reddit’s r/astrophotography communities contain years of collective experience. Search before you ask – most beginner questions have been answered many times. When you do ask, include your location, equipment, and what you are trying to achieve.
The Real Reward of Astrophotography
When you produce your first clear image of Saturn’s rings, something shifts. That planet is over a billion kilometers away. Light left it more than an hour ago before hitting your sensor. You photographed something genuinely distant and genuinely ancient in terms of the light’s travel time.
Can telescope take pictures that match what professional observatories produce? Not quite. But amateur astrophotographers regularly produce images that would have required observatory-grade equipment just 30 years ago. Sensors have improved, software has improved, and affordable tracking mounts have changed what is possible for ordinary people.
The gap between backyard photography and professional imagery keeps narrowing. That is a good time to start.
FAQs
Can I Use my Smartphone to Take Pictures Through a Telescope?
Using your smartphone for astrophotography is indeed possible. There are smartphone adapters available that can be affixed to the eyepiece of the telescope, effectively turning your device into a camera.
What Time of Night is Best for Astrophotography?
The “blue hour” before sunrise or after sunset is excellent for capturing landscapes with the stars above. For deep-sky objects, the late evening or early morning hours, when the Milky Way is high in the sky, and the light pollution is at its lowest, is ideal.
How Can I Minimize Shaking in My Astrophotography Setup?
Shaking can be minimized by using a remote trigger for your camera, setting a delay on the shutter release, and ensuring your setup is on a stable surface. Equatorial mounts are particularly effective in this regard for keeping your astrophotographs sharp and detailed.
Do I Need a Special App for Smartphone Astrophotography?
Yes, specialized camera apps give you manual control over focus, ISO, and exposure. These settings help you capture clearer and more detailed night sky images.
Can I Take Pictures of Planets with My Smartphone and Telescope?
Absolutely! With a proper adapter and steady alignment, you can capture images of the Moon, Jupiter, Saturn, and even Mars. Using digital zoom and post-editing will help enhance the details.
Last updated: September 2026.
Can a Telescope Take Pictures? The 4 Methods, Cheapest First
Quick answer: Yes. The four ways, cheapest first: (1) hold your phone to the eyepiece – free, and great for the Moon; (2) a $25 phone adapter for steadier shots; (3) a DSLR at prime focus for deep-sky; (4) a smart telescope that stacks images by itself. You can photograph the Moon tonight with the phone already in your pocket.
We photographed the Moon, Jupiter, and the Orion Nebula with each method in September 2026 – copy these settings: Moon – ISO 100–200, 1/125s, single shot. Planets – 2–3 minute video at ISO 400, then stack the sharpest frames. Deep sky – ISO 1600, 20–30s exposures, 20+ frames stacked. If deep-sky imaging hooks you, our best telescopes for astrophotography guide ranks the top scopes, and the right Go-To mount for astrophotography is what makes long tracked exposures possible. Prefer zero effort? Our Seestar S50 review covers the telescope that does it all itself. For stacking technique, Sky & Telescope’s imaging tutorials are the gold standard.
Find more hands-on guides at Telescope Trove – The Wikipedia of Telescopes.

Written by Ryan Cole
Ryan Cole is Telescope Trove's how-to column. Behind the byline, our four-person editorial team breaks down astrophotography, mounts, and how telescopes work into plain-English guides for beginners.
Telescope Trove – The Wikipedia of Telescopes · More from Ryan Cole