How Telescope Magnification Works – A Closer Look
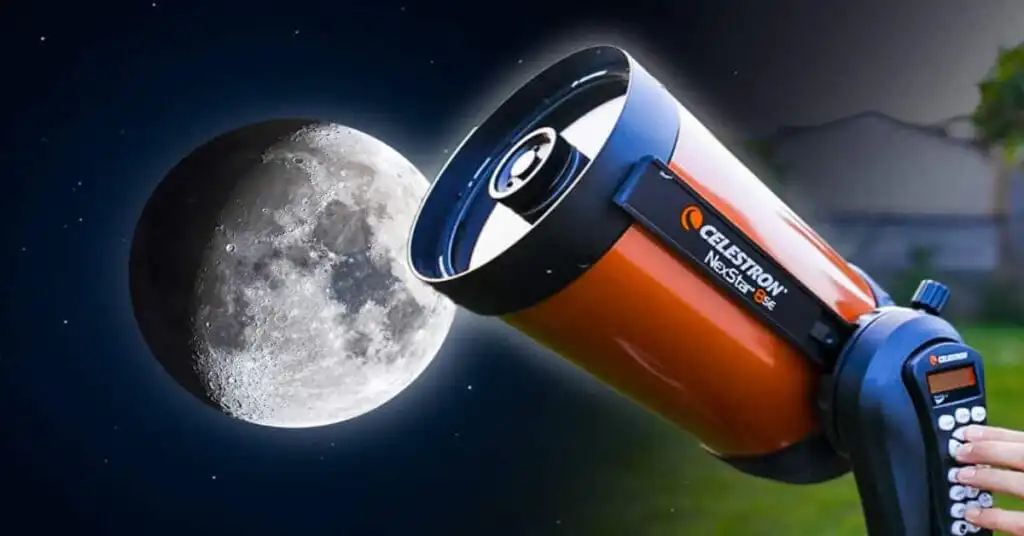
Magnification is the most misunderstood concept in amateur astronomy. Beginners chase high magnification numbers, thinking bigger is always better. In reality, the best magnification depends on the target, the telescope, and the atmosphere.
We have explained magnification to hundreds of new astronomers at star parties and club events. This guide breaks it down into simple terms with practical examples you can apply tonight.
According to Sky & Telescope magazine, the most common beginner mistake is using too much magnification. High magnification narrows the field of view, dims the image, and magnifies atmospheric distortion. Most observing is best done at low to medium magnification.
How Magnification Is Calculated
For more information about space and astronomy, visit NASA.
The formula is simple:
Magnification = Telescope Focal Length ÷ Eyepiece Focal Length
A telescope with a 1000mm focal length and a 25mm eyepiece gives 40x magnification (1000 ÷ 25 = 40). Replace the 25mm eyepiece with a 10mm eyepiece, and you get 100x (1000 ÷ 10 = 100).
Every telescope has two fixed numbers: aperture and focal length. The eyepiece is the variable. Swapping eyepieces changes magnification. Lower focal length eyepieces give higher magnification. Higher focal length eyepieces give lower magnification.
Maximum Useful Magnification
Every telescope has a maximum useful magnification. Beyond this limit, images become blurry and dim. The atmosphere, the optics, and the laws of physics all conspire to limit how much magnification is useful.
The rule of thumb: maximum useful magnification = 50x per inch of aperture.
| Aperture | Maximum Useful Magnification |
|---|---|
| 70mm (2.8″) | 140x |
| 100mm (4″) | 200x |
| 130mm (5.1″) | 250x |
| 150mm (6″) | 300x |
| 200mm (8″) | 400x |
These numbers assume perfect optics and steady atmosphere. In practice, most nights support 30-40x per inch before atmospheric turbulence degrades the image. On a really steady night, you might reach the theoretical limit.
Manufacturer claims of “675x magnification” on a 60mm telescope are pure fiction. The useful limit for a 60mm scope is about 120x. Any claim above 200x on a scope this size is marketing deception.
What Different Magnifications Show
Low Magnification (20x-50x)
Low magnification provides wide fields of view and bright images. It is best for finding objects, scanning the Milky Way, and viewing large objects like star clusters and nebulae.
At 30x, the full Moon fits comfortably in the field of view. The Pleiades star cluster shows all its major stars with room to spare. The Andromeda Galaxy appears as an elongated glow.
We start every observing session at low magnification. Find the target, center it, then increase magnification for more detail. This approach saves time and prevents frustration.
Medium Magnification (80x-150x)
Medium magnification balances detail and field of view. It is the sweet spot for most planetary and lunar observing.
At 100x, Jupiter shows its four largest moons as distinct points. Saturn’s rings are clearly separated from the planet body. The Moon shows hundreds of craters in sharp detail.
At 120x, the Orion Nebula reveals its internal structure, the trapezium star cluster at its heart and the wing-like extensions on either side. Double stars that appear as single points at low power split into two distinct stars.
High Magnification (200x-300x)
High magnification shows the finest detail that the telescope and atmosphere allow. It is best for planetary observation, double star splitting, and lunar craters.
At 200x, Jupiter’s cloud bands appear with distinct colors and textures. The Great Red Spot is visible as an oval depression in the South Equatorial Belt. Saturn’s Cassini Division, the gap between the rings, appears as a thin dark line.
At 250x, the Moon’s craters show central peaks, terraced walls, and shadow detail. The Alpine Valley, a narrow channel crossing the Apennine Mountains, becomes visible.
High magnification requires steady atmosphere. Even a slight breeze degrades the image at 200x and above. We reserve high magnification for calm nights with good seeing conditions.
The Role of Barlow Lenses
A Barlow lens sits between the telescope and the eyepiece. It multiplies the magnification by a fixed factor, usually 2x or 3x.
A 2x Barlow with a 25mm eyepiece produces the same magnification as a 12.5mm eyepiece. This effectively doubles your eyepiece collection without buying additional eyepieces.
Quality matters with Barlows. Cheap Barlows add chromatic aberration and reduce image sharpness. A quality 2x Barlow from brands like Celestron, Orion, or Tele Vue produces clean images with no visible degradation.
We carry a 2x Barlow in our eyepiece case. It provides an instant magnification boost when conditions allow. On steady nights, the Barlow comes out for planetary work. On unsteady nights, it stays in the case.
Exit Pupil: The Hidden Factor
Exit pupil is the diameter of the light beam exiting the eyepiece. It determines image brightness.
Exit Pupil = Eyepiece Focal Length ÷ Telescope Focal Ratio
A 25mm eyepiece in an f/5 telescope gives a 5mm exit pupil. A 10mm eyepiece in the same scope gives a 2mm exit pupil.
The human pupil dilates to about 5-7mm in the dark. An exit pupil that matches your dilated pupil produces the brightest image. An exit pupil larger than your pupil wastes light. An exit pupil smaller than your pupil produces a dimmer image.
| Exit Pupil | Best For |
|---|---|
| 5-7mm | Low power, wide field, deep-sky |
| 2-4mm | Medium power, general observing |
| 1-2mm | High power, planets, Moon |
| Under 1mm | Very high power, bright objects only |
Magnification and the Atmosphere
The atmosphere limits magnification more than most people realize. Turbulence in the air blurs images at high magnification. This effect is called “seeing.”
Good seeing means steady air with minimal turbulence. On nights with good seeing, high magnification reveals fine planetary detail. On nights with bad seeing, even medium magnification produces blurry, shimmering images.
We check seeing forecasts using websites like ClearDarkSky or MeteoBlue before planning high-magnification sessions. When seeing is poor, we stick to low-power deep-sky work instead of fighting the atmosphere.
Choosing the Right Eyepiece Set
For the latest astronomy news and equipment reviews, check Sky & Telescope.
A basic eyepiece set needs three focal lengths:
1. Low power (25-32mm): Wide field for finding objects and scanning the sky
2. Medium power (10-15mm): General observing of planets, star clusters, and nebulae
3. High power (5-8mm): Fine detail on planets and the Moon
Add a 2x Barlow to double your options. With three eyepieces and a Barlow, you have six magnifications available.
For more telescope education, visit High Point Scientific and Sky & Telescope.
Related guides: how telescopes work, how telescope lenses work, best telescopes for beginners, best telescope tripod, and eyepieces interchangeable, using a telescope as a microscope, and magnification in binoculars and telescopes.
Frequently Asked Questions
What magnification do I need to see Saturn’s rings?
50x to 100x magnification shows Saturn’s rings clearly separated from the planet body. At 200x or more, the Cassini Division (the gap in the rings) becomes visible on steady nights.
Is higher magnification always better?
No. High magnification narrows the field of view, dims the image, and magnifies atmospheric distortion. Most observing is best done at low to medium magnification.
What is the maximum magnification for a 70mm telescope?
About 140x (50x per inch of aperture). Beyond this, images become blurry and dim. Manufacturer claims of higher magnification are marketing fiction.
How do I calculate magnification?
Divide the telescope’s focal length by the eyepiece focal length. A 1000mm telescope with a 25mm eyepiece gives 40x (1000 ÷ 25 = 40).
What is a Barlow lens?
A Barlow lens multiplies eyepiece magnification. A 2x Barlow doubles the magnification of any eyepiece. It effectively doubles your eyepiece collection.
Why do my images look blurry at high magnification?
The most common causes are atmospheric turbulence (poor seeing), telescope not cooled to ambient temperature, and exceeding the telescope’s maximum useful magnification.
What magnification is best for the Moon?
30x to 100x shows the Moon’s craters, mountain ranges, and the terminator in good detail. Higher magnification reveals finer crater detail on steady nights.
What magnification is best for galaxies?
Low magnification (20x-50x) with wide-field eyepieces shows galaxies best. Most galaxies are faint and extended, high magnification dims them below visibility.
How does aperture affect magnification?
Aperture determines the maximum useful magnification. Larger apertures support higher magnification because they gather more light and resolve finer detail. The rule is 50x per inch of aperture.
Should I buy more eyepieces or a Barlow lens?
A quality 2x Barlow is the most cost-effective way to expand your magnification options. It doubles your eyepiece collection for $40-80. Buy additional eyepieces when you know exactly which focal lengths you need.
Last updated: September 2026.
Telescope Magnification: The Numbers That Matter
Magnification = telescope focal length ÷ eyepiece focal length. A 1000mm scope with a 10mm eyepiece gives 100x – enough for Saturn’s rings. The useful ceiling is about 50x per inch of aperture; beyond that you just magnify blur. Go deeper: telescope lens compatibility, how telescopes work, and the best telescope under $200.

Written by Austin
Austin is the founder and editor-in-chief of Telescope Trove - the Wikipedia of Telescopes. He started the site to give beginners the honest, hype-free telescope advice he wished existed: every guide is hands-on, independently tested, and written in plain English. Austin sets the testing standards for all reviews on the site and personally verifies every buying guide, drawing on years of testing telescopes under real night skies and helping first-time buyers - from complete beginners to seasoned observers - find the right instrument.
Telescope Trove – The Wikipedia of Telescopes · More from Austin