
Tips For Capturing The Night Sky With DSLR – A Beginners Guide
The night sky is like a giant painting, full of sparkling stars and other cosmic wonders. It’s been fascinating people for thousands of years. And guess what? With a DSLR camera, it is possible to capture images of this incredible spectacle. This manual contains all the information necessary to begin preserving the magnificence of the night sky.” It’s packed with easy tips and tricks to help you begin your journey into nightscape photography. So, if you’re ready to photograph the stars, keep reading.
Gear Up for the Night
Camera
Your trusty DSLR camera is essential for capturing stunning nightscapes. Ensure it has a manual shooting mode to control exposure settings. While a full-frame camera is ideal for low-light performance, APS-C sensors can still do a great job. If you don’t have a DSLR, don’t fret! Smartphone cameras have greatly improved and can be used for basic night photography.
Lens
A wide-angle lens lets you capture more of the night sky and include foreground elements like mountains or trees. Look for a lens with a maximum aperture of f/2.8 or wider to gather more light in dim conditions.
Tripod
A sturdy tripod is crucial for night sky photography. Since you’ll often use long exposure times, even the tiniest camera shake can mess up your shot. Invest in a stable tripod that can comfortably support your camera and lens.
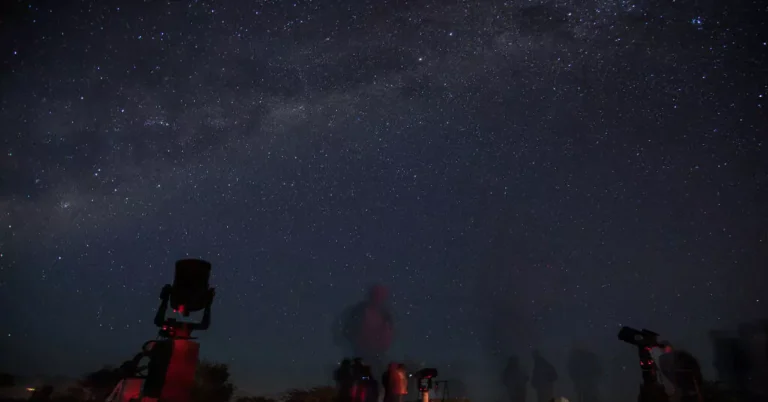
Finding Your Perfect Nightscape
Escape the City Lights
When you’re doing nightscape photography, light pollution can ruin your shots by washing out the stars and other celestial objects. To avoid this, you must escape from areas with many city lights. Look for places far away from cities, like national parks, remote beaches, or even your backyard, if it’s dark enough.
Seek High Ground
Aim for higher ground for clearer views with less distortion caused by light. The higher you go, the thinner the atmosphere, making it easier to see the night sky. Try heading to mountains or hills or finding a spot on the top floor of a building with a clear view of the sky.
Mastering Manual Mode: The Language of Light
In nightscape photography, three main settings control the outcome of your photos: Aperture, ISO, and shutter speed. Let’s break them down.
Aperture
Think of it as the window that lets light into your camera. A wider aperture, a lower f-number, captures those faint stars. But be careful—it is too broad, and only a tiny part of your picture will be in focus. You’ve got to find the right balance for what you want your photo to look like.
ISO
This setting decides how sensitive your camera is to light. A higher ISO makes your images brighter in low-light situations but can also add graininess. Start with a low ISO, around 100, and bump it up slowly until your photo looks bright enough without too much grain.
Shutter Speed
The duration of light exposure is regulated by it for your camera’s sensor. Longer shutter speeds let in more light, capturing faint stars. But if your shutter speed is too long, the stars might look like streaks because of the Earth’s rotation. Try different shutter speeds until you balance capturing and keeping stars sharp.
Exposure settings for astrophotography
These exposure settings are crucial for capturing the stunning beauty of the night sky. Let’s take a closer look at why each one matters.
- Wide Aperture (f/2.8 to f/4): Since autofocus can struggle in the dark, switching to manual focus ensures you get sharp details on your celestial subject.
- Manual Focus: Since autofocus often struggles in the darkness, switching to manual focus ensures you lock in sharp details on your celestial target.
- Long Exposures (15-30 seconds): they’re necessary for astrophotography to gather enough light for clear images. Experiment in this range to discover the ideal equilibrium that prevents overexposing your photograph.
- High ISO (400-1600+): This controls your camera’s sensitivity to light. Higher ISOs brighten your image but can introduce grain. Start low and adjust as needed to balance light capture with clean visuals.
- Auto/Daylight White Balance: Consider using auto or daylight white balance. While there are creative options, these settings often give you natural-looking colors that complement the night sky.
The Celestial Wonders
Moon Photography
To photograph the moon:
- Grab a telephoto lens for crisp shots.
- Remember to set your aperture and shutter speed according to the brightness of the moon.
- Keep the ISO around 100 to avoid noise in your photos.
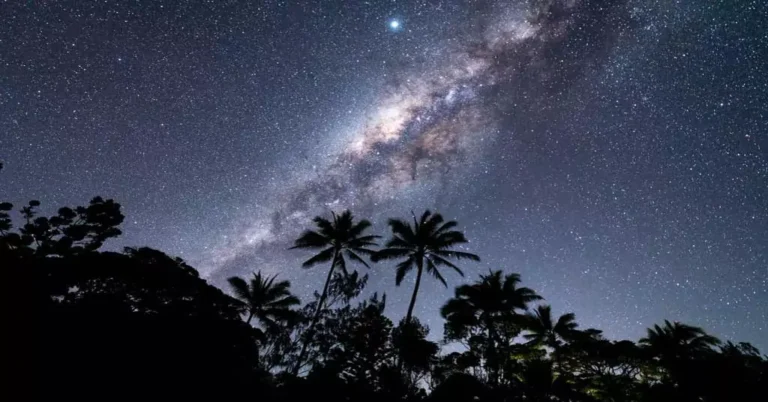
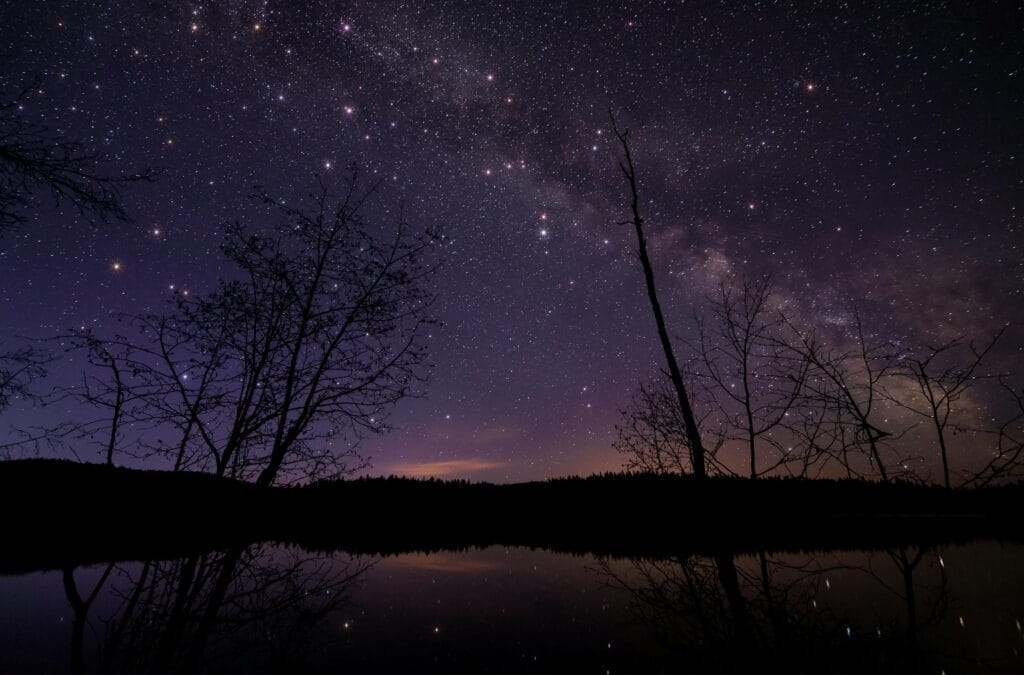
Capturing the Milky Way
Head to a dark spot and use a wide-angle lens to capture this majestic band of stars. Set your Aperture wide open, adjust your ISO (higher if there’s light pollution), and keep the Use a shutter speed of 15 to 30 seconds to capture the faint glow.
Star Trails
To capture mesmerizing star trails, use a wide-angle lens and set a long shutter speed, lasting several minutes or even hours. Play around with different shutter speeds to create the perfect length for your star trails.
Additional Tips and Tricks
The Cold Environment
When you’re out in the cold, capturing nightscapes, remember that colder temperatures help reduce sensor noise, making your images cleaner.
Minimize Camera Shake
Try using a shutter release cable to avoid camera shaking during long exposures, which can cause blurriness. This lets you trigger the shutter without touching the camera, ensuring your shots stay sharp.
Conclusion
With these tips and some practice, you’ll soon capture breathtaking night sky images with your DSLR. Remember, nightscape photography is all about exploring and experiencing. So, get out there, look up at the stars, and turn the magic of the cosmos into your very own unforgettable photographs.
FAQS
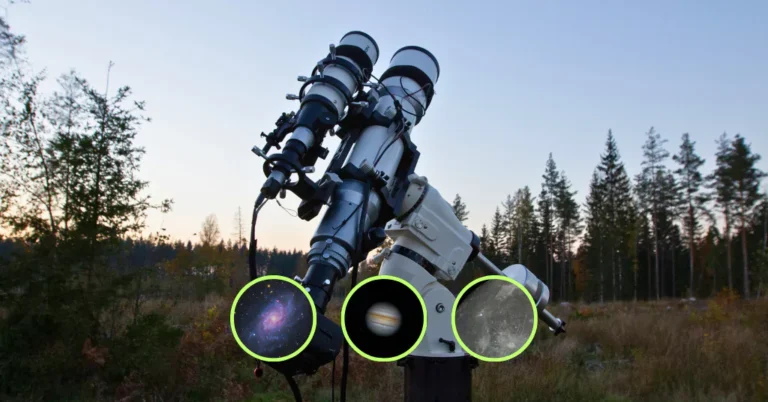
What equipment do I need to start astrophotography?
It depends on your goals. For basic shots, a DSLR camera or even a smartphone can work. For more advanced images, you might need a telescope or specialized camera equipment.
How do I find a good location for astrophotography?
Look for places away from city lights, like rural areas or national parks, to reduce light pollution. Websites and apps can also help you find dark sky locations.
Can I do astrophotography without a telescope?
Absolutely! Many stunning astrophotography images are taken with just a DSLR camera and a tripod. You can capture wide-angle shots of the Milky Way, star trails, and even some deep-sky objects without a telescope.
Do I need to know a lot about astronomy to do astrophotography?
Not necessarily. While some knowledge of the night sky can be helpful for planning your shots, you can still take stunning images with just basic understanding. As you practice, you’ll naturally learn more about the objects you’re photographing.
How important is post-processing in astrophotography?
Post-processing can significantly enhance your astrophotos by bringing out details and colors that might be faint or obscured in the original images. While it’s not required, learning some basic post-processing techniques can greatly improve your results.